Abhisek Sarda / 2013-05-13
Making of our Team Page GIFs


A lot of people who’ve seen the page have written to us about how much they love the way we did our team page back in 2013, especially the animated GIFs. So we thought we’d share the behind the scenes making of the Team Page GIFs.
Step 1:
Procrastinate for more than a year. We’ve never put a team page on any of our own websites. We just didn’t “love” any of the ideas we came up with and kept postponing putting a team page. Even when we built the new website in February, we didn’t make a page… none of the ideas we had then sounded cool. Finally, after 3 months of making the new website public, we’ve made a team page. And now we love it! 🙂
Step 2:
Democratize. We let everyone think of their own ideas of how their GIFs would be done. Once we had all the ideas, we weeded out the unviable ones or the ones that sounded like a small feature film!
Step 3:
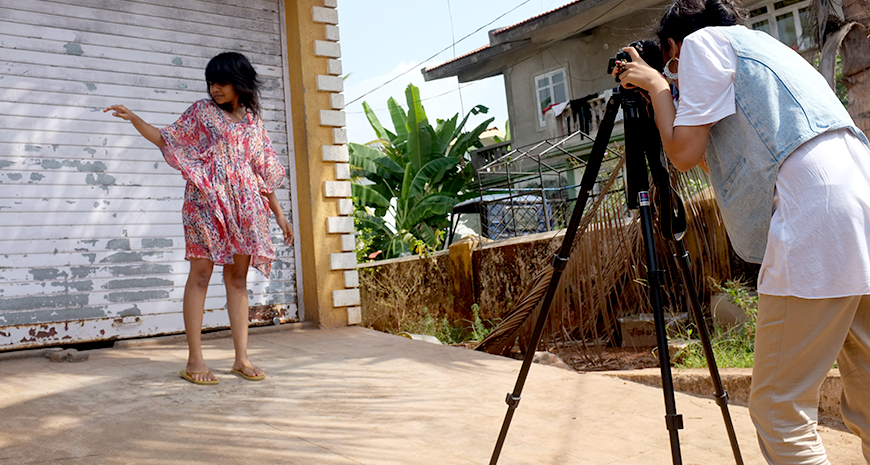
Shoot. We set aside a day to shoot all the photos. Shooting for GIFs is simple. Make a rough storyboard of all the shots that will be stitched together to make the GIFs. Then start shooting them. Use a Tripod to make sure only the subject moves and the composition doesn’t change. If you want to include some illustrated objects in the GIF, plan before shooting and leave room for those in your frame. We ended up shooting all the photos twice because the first time we didn’t use the Tripod. The slight changes in the frame visible on the camera screen are amplified when seen on a large screen.
Step 4:
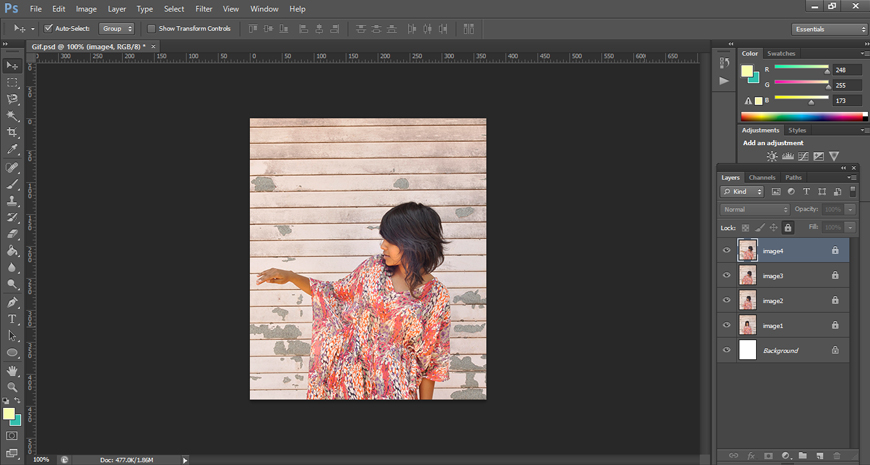
Optimize the photographs and resize them to the dimensions you want the GIF to be. Once you have all the photos for a person, import them into Adobe Photoshop as different layers in the same file.
Step 5:
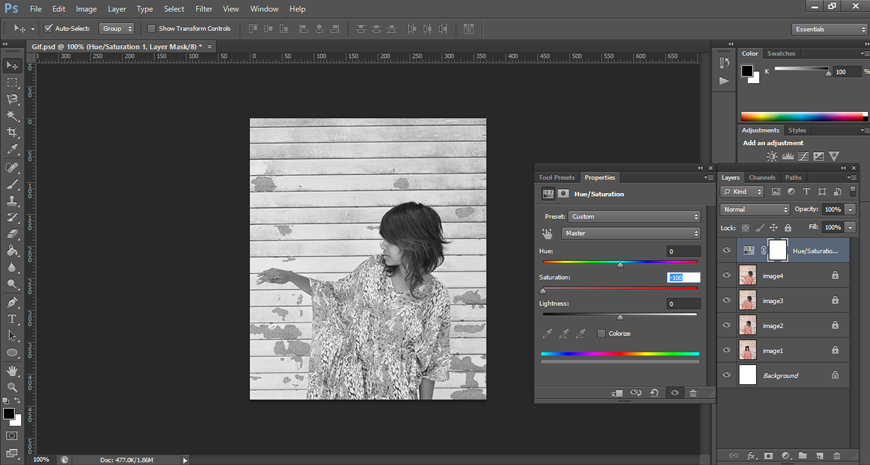
We chose to convert all photos to Black & White, to fit with the aesthetics of our website. But this step is not required.
Step 6:
Go to Window > Timeline. Once timeline opens, arrange frames in the order you want in the animation.
Step 7:
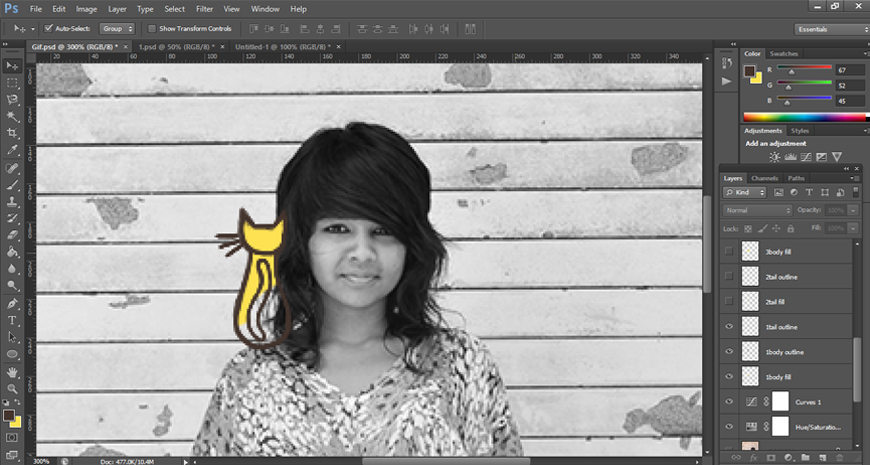
Depending on what you are illustrating and how it fits your storyboard, now you can start doodling on the individual frames. Keep it simple and don’t clutter up the frame with too much doodling. You’ll find it difficult to carry it forward to the next frames. In this case, the idea was to show the cat jumping up and down Ankita’s arm.
Step 8:
Think about looping. Animated GIFs work best when they loop, i.e. the end of the animation seamlessly blends into the beginning. In this case, the cat starts off on Ankita’s shoulders and returns back to the shoulder, to start off again.
Step 9:
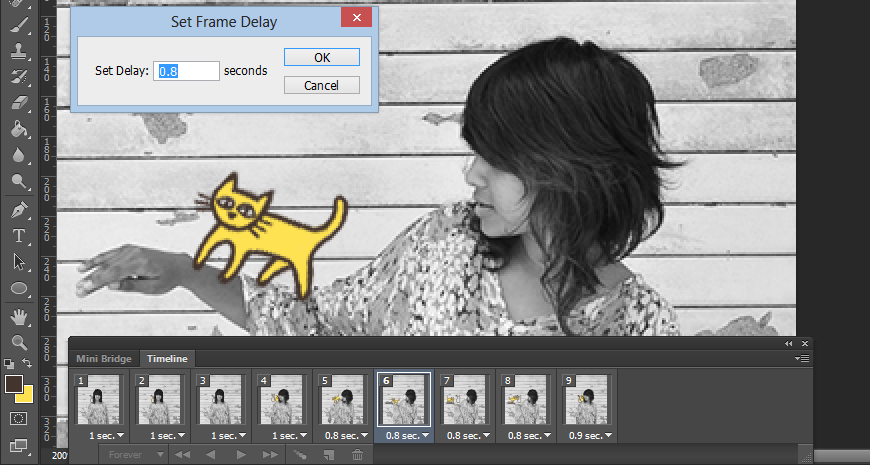
Set frame delay rate. This controls the speed of your animation. The number you set depends on the number of individual photographs you have, how long the animation will be and how smooth you want it to be.
Step 10:
In the timeline, test the animation by playing it. And you’re done!
Step 11:
Export a GIF out of the Photoshop file by using “Save for Web”. You might want to optimize the GIF to make sure the file is not too heavy. If you’ve designed the GIF to loop, don’t forget to select the “loop forever” option while saving.